When it comes to achieving a flawless paint finish, wall preparation is often the most underestimated step. Many people focus on choosing the perfect color or finish but overlook the foundation — the condition of the wall itself. Whether you’re repainting your living room or finishing a new project, knowing how to prep walls for painting is essential for durability, smoothness, and professional results.
Proper wall prep can prevent common issues like uneven coverage, paint peeling, or visible cracks after painting. With the right approach — and the right tools — your walls will not only look great but also stand the test of time. If you’re wondering how to prep walls for painting like a pro, this step-by-step guide covers everything you need.
Step 1: Inspect and Evaluate Your Walls
Before you touch a paintbrush, take time to carefully inspect the wall surface. Good lighting is crucial here — natural daylight or a bright work light helps reveal imperfections.
- Look for:Cracks, dents, or holes
- Loose paint or peeling surfaces
- Water stains or mold spots
- Nail pops or joint tape bubbles
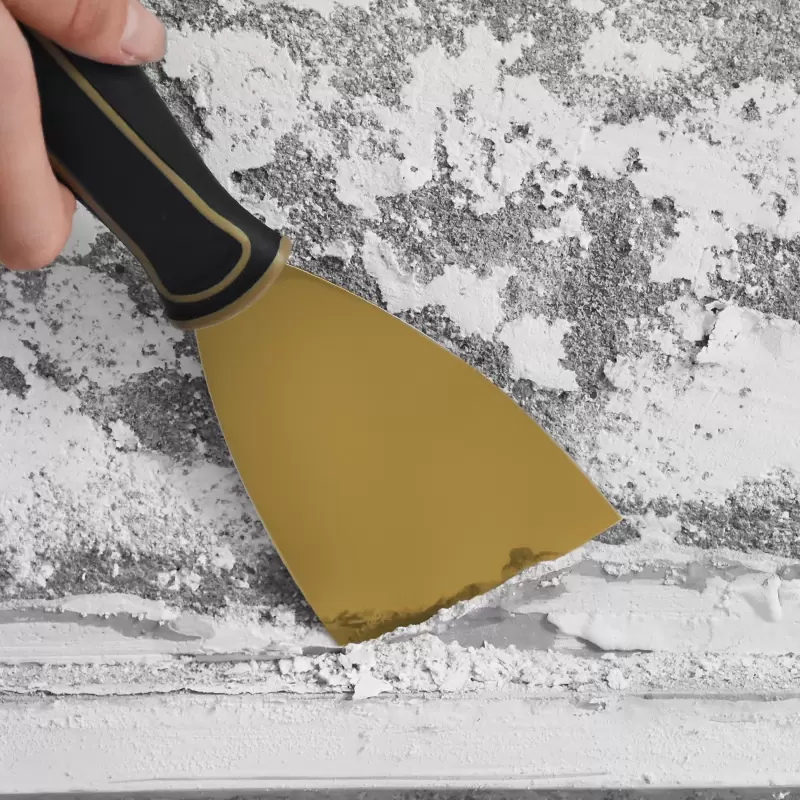
If your wall has mold or dampness, address the source of moisture first. Painting over it will only make things worse. For old houses, gently scrape off any loose or flaking paint using a paint scraper.
🔎 Consejo profesional: Shine a flashlight along the wall from the side. This “grazing light” makes uneven textures and hidden flaws visible — something most professionals swear by when they prep walls for painting.
🎥 Watch & Learn: For a visual guide on protecting your room, cleaning walls, and repairing small damages, check out this short video. It demonstrates the exact techniques to prep your walls like a pro!
Step 2: Clean the Surface Thoroughly
Dust, grease, or even invisible residue can ruin adhesion and cause paint to bubble or chip. Cleaning ensures the primer and paint stick properly — it’s one of the most important parts when you prep walls for painting.
Here’s how to clean based on your wall type:
| Surface Condition | Recommended Cleaning Method | Objetivo |
| Lightly soiled walls | Mild detergent + warm water | Removes dust and fingerprints |
| Greasy kitchen/bathroom walls | Degreaser or TSP (Trisodium Phosphate) | Cuts through oil and residue |
| New drywall or sanded plaster | Vacuum + microfiber wipe | Removes fine construction dust |
After washing, rinse with clean water and let the surface dry completely — at least a few hours or overnight in humid areas.
Step 3: Repair Cracks, Holes, and Flaws
Even small imperfections can ruin your paint finish once the color goes on. Now’s the time to patch and repair:
- Fill nail holes and small cracks with lightweight spackling paste.
- For deeper gouges, use joint compound in layers — allowing each to dry before the next.
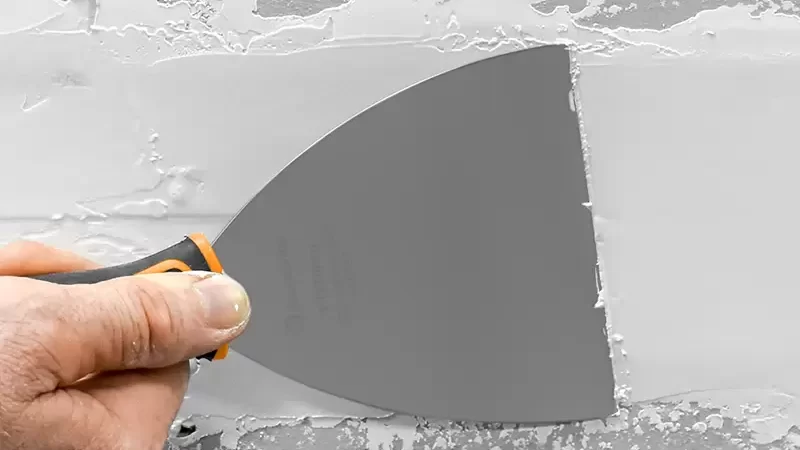
- Smooth out any ridges with a espátula.
Once dry, lightly sand the repaired areas using fine-grit sandpaper . Always feather the edges to blend with the wall surface.
🧰 Consejo profesional: Slightly overfill the repair area — spackle tends to shrink as it dries. After sanding, run your hand across to ensure it feels even. The smoother it feels now, the better your finish will look later.
Step 4: Sand for a Perfect Finish
Sanding is one of the most important — and most overlooked — steps. It helps remove minor bumps, old paint drips, or roller marks from previous jobs.
Start with medium-grit sandpaper to smooth rough spots, followed by for a polished finish.
- Use a sanding pole for large areas to maintain even pressure.
- ROLLINGDOG sanders help you work efficiently in a clean space.
⚠️ Safety Reminder: Always wear a dust mask or respirator when sanding. If you’re working on older walls, test for lead-based paint first. The EPA’s Renovation, Repair and Painting Program provides clear safety guidelines.
Step 5: Prime for Adhesion and Uniformity
Primer acts like the glue between your wall and your paint. It seals porous surfaces, covers stains, and ensures even color absorption — especially important when switching from dark to light paint or painting new drywall.
| Wall Type | Recommended Primer | Why It Works |
| Bare drywall or new plaster | Latex primer | Seals and evens out absorbency |
| Stained or patched walls | Stain-blocking primer | Prevents bleed-through |
| Glossy or previously painted walls | Bonding primer | Improves adhesion |
| Bathrooms, kitchens | Moisture-resistant primer | Protects against humidity |
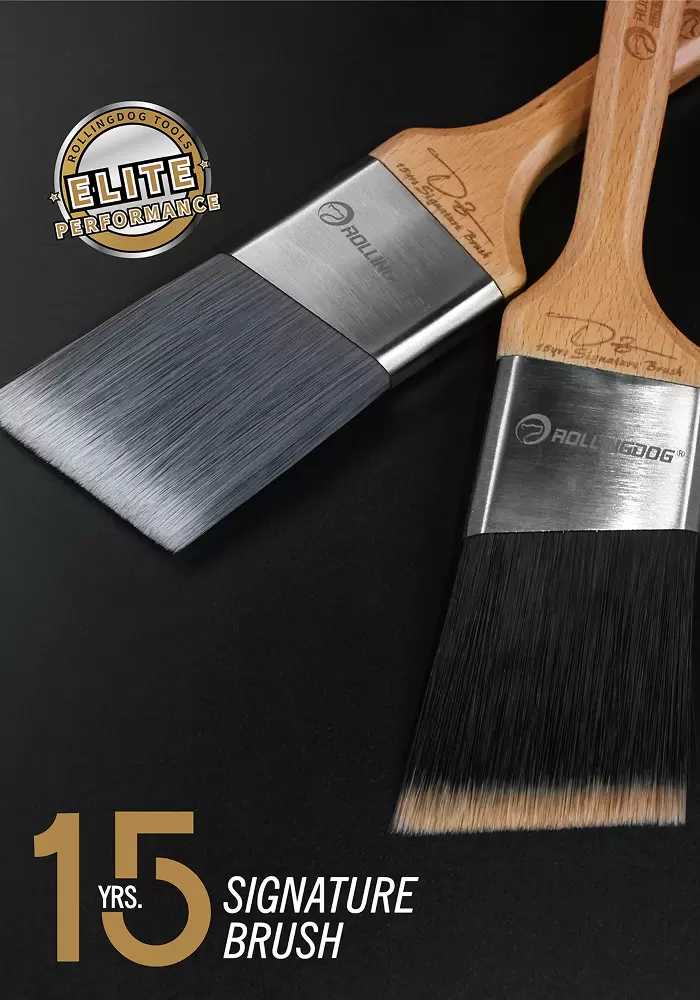
Apply primer with a high-density roller cover from ROLLINGDOG for smooth, lint-free coverage. For edges and corners, use an angled sash brush to maintain precision.
🎨 Consejo profesional: Don’t skip priming dark-colored walls — it helps your new paint color show true and last longer.
Let the primer dry fully (as per the label — usually 2–4 hours) before applying your topcoat. This is the final key step to prep walls for painting the right way.
Step 6: Protect Floors, Furniture, and Fixtures
A professional-looking paint job means neatness as much as color quality. Before painting:
- Move furniture to the center or another room.
- Cover the floor and furniture with drop cloths or plastic sheeting.
- Mask trim, switches, and outlets using painter’s tape.
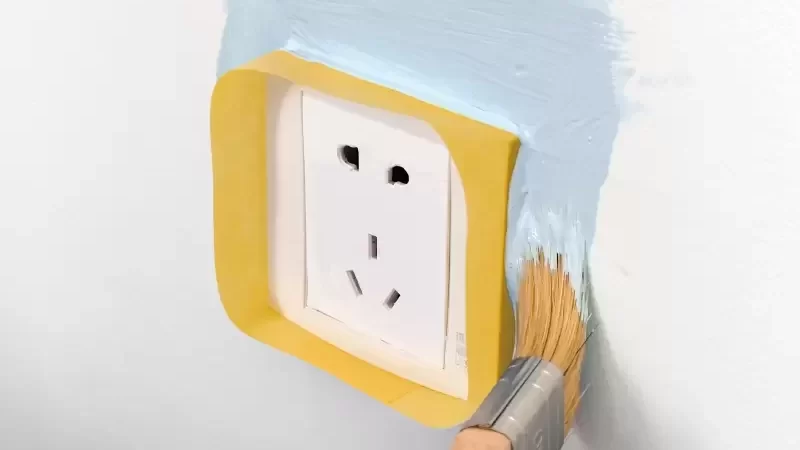
Pay special attention to corners and door frames — this is where drips and overlaps often occur.
Consejo profesional: Press tape edges firmly with a putty knife for clean, crisp lines. Once your paint is dry to the touch, remove tape slowly at a 45° angle for a sharp finish.
Step 7: Final Check — Ready for Paint
Before opening your paint can:
- Ensure the wall is completely dry.
- Run your hand across — it should feel smooth and dust-free.
- Reinspect repairs and edges under good lighting.
Gather your painting tools — premium rollers, brushes, trays, and extension poles — and you’re ready for a flawless paint job.
⏱️ Time Estimate: For a medium-sized room, full wall prep may take 4–8 hours depending on wall condition and drying time. It’s a day’s work that guarantees years of satisfaction.
Common Mistakes to Avoid
Even experienced painters make these prep errors:
- Painting over dust or moisture
- Skipping primer on patched walls
- Using low-quality brushes or rollers that shed lint
- Ignoring sanding or repair imperfections
Remember: your paint job is only as good as your prep walls for painting process. Investing a few extra hours here can extend your wall finish by years.
Final Thoughts
Preparing walls for painting may not be the most glamorous step, but it’s the most critical one for lasting beauty and durability. Clean, smooth, and properly primed walls give your paint the best foundation to shine.
At ROLLINGDOG Tools, we design every brush, roller, and prep accessory with one goal — to make your painting process faster, cleaner, and more professional. From dust-free sanders to ergonomic brushes, our tools help both DIYers and professionals achieve superior results with less effort.
Visit ROLLINGDOG Tools to explore innovative products trusted by painters around the world.
Zoe Cen es especialista en marketing de ROLLINGDOG, líder mundial en herramientas profesionales de pintura. Trabaja para conectar la marca con distribuidores y minoristas internacionales, destacando la innovación de ROLLINGDOG en brochas, rodillos y accesorios. Centrada en el marketing B2B global, Zoe ayuda a los socios a acceder a soluciones de pintura fiables y de alta calidad para profesionales y usuarios de bricolaje.