1. Surface Preparation Starts Before You Open a Paint Can
1.1 What to Check Before Any Prep Work Begins
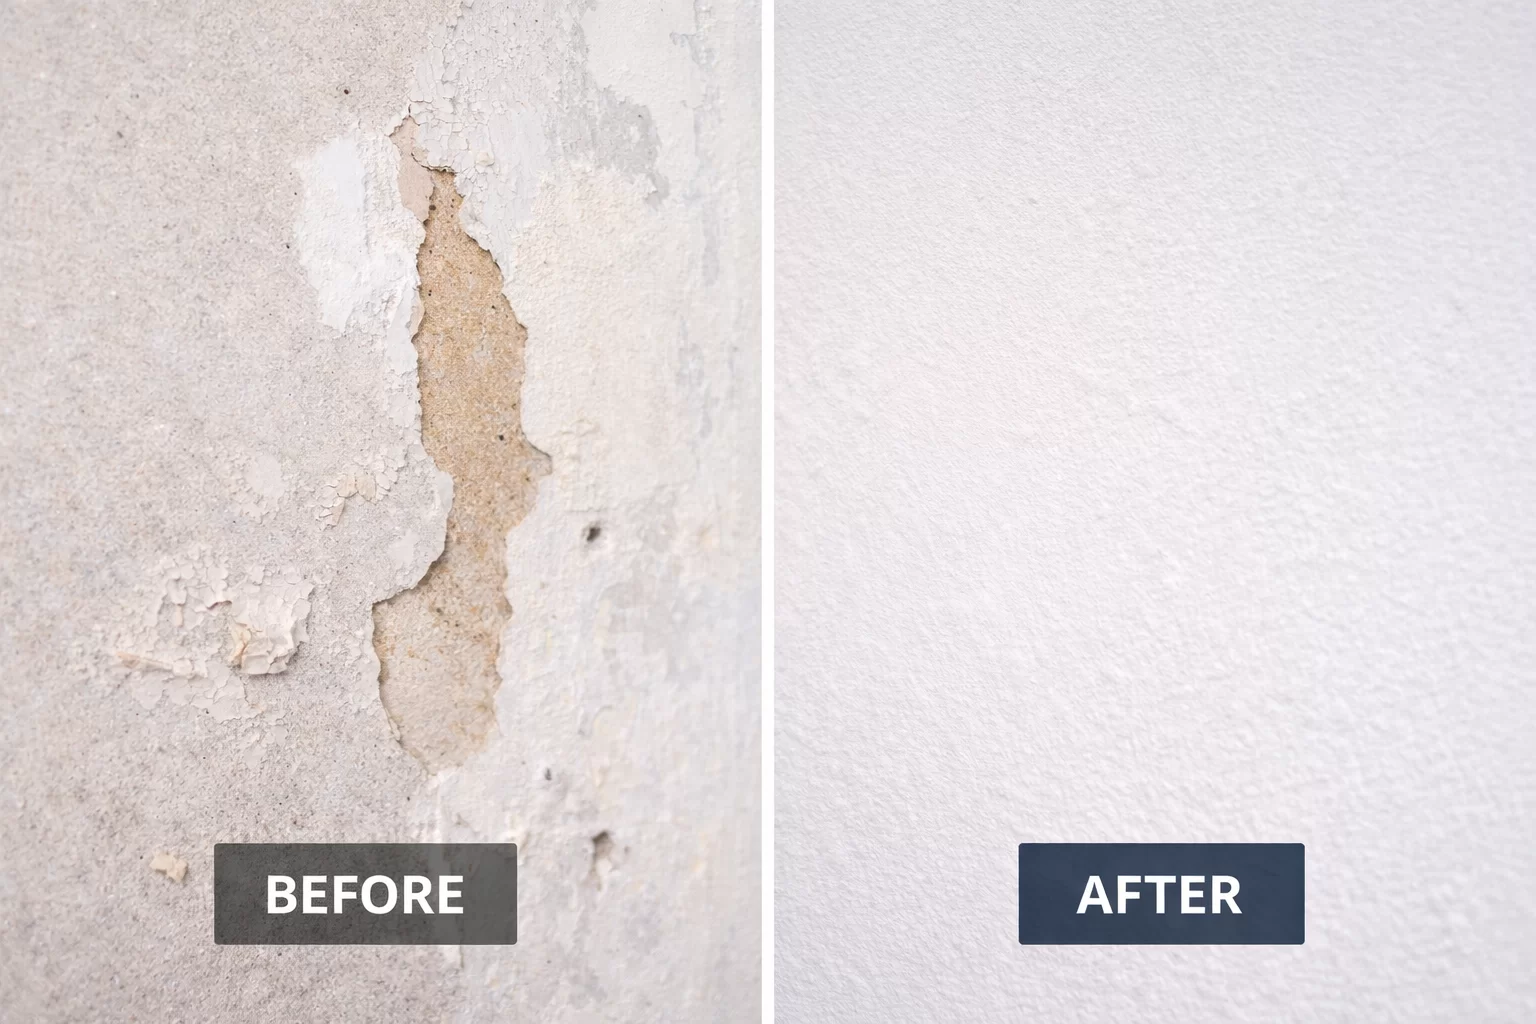
Effective surface preparation starts with inspection, not tools. Before any cleaning or sanding, a clear evaluation sets the direction for the entire prep to paint process and helps avoid failures later.
Before starting, professionals typically review the following:
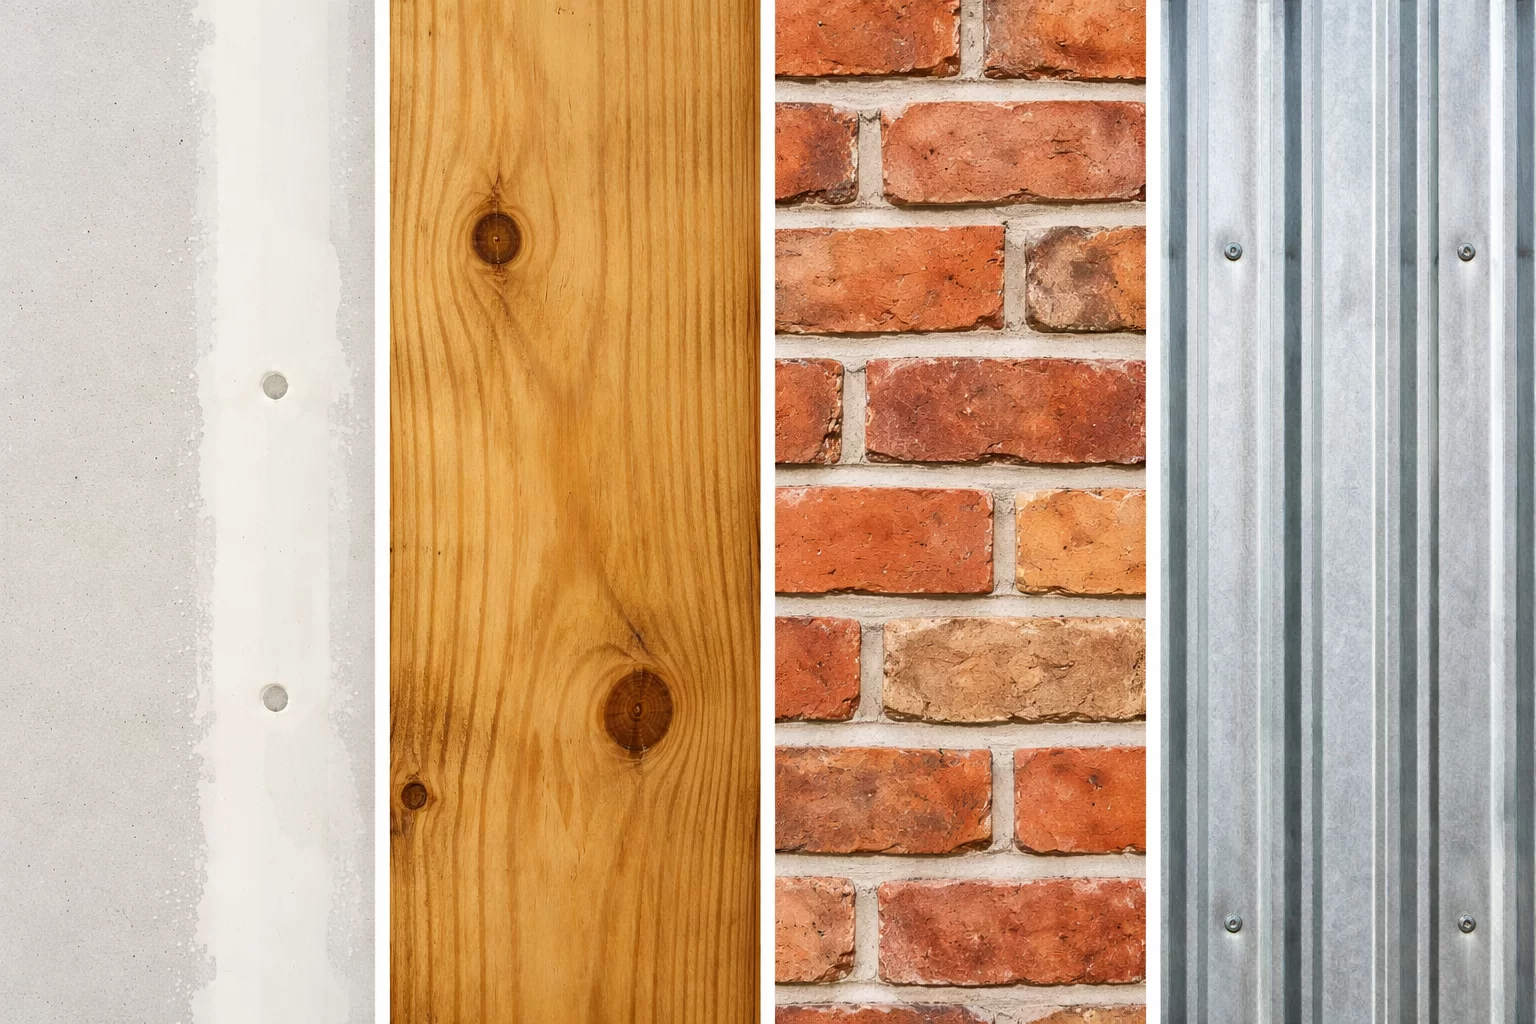
- Surface material type
Identify whether the surface is drywall, wood, masonry, or metal. Each material responds differently during surface preparation and requires specific methods. - Existing coatings and condition
Look for peeling paint, glossy finishes, or previous coatings that may affect adhesion. - Moisture and contamination
Check for moisture stains, grease buildup, or hidden damp areas. Moisture is a critical factor—painting over damp surfaces often leads to blistering or adhesion loss. - Environmental conditions
Temperature, airflow, and humidity matter, especially when painting home interiors where ventilation can be limited.
Professionals treat this stage as planning, not delay. A few minutes of careful checking ensures the surface preparation process supports long-term paint performance rather than short-term appearance.
1.2 Identifying Surface Problems That Affect Paint Adhesion
Paint adhesion issues usually originate from the surface, not the coating. Identifying these problems is a core part of professional surface preparation, particularly on previously painted or exposed areas.
Watch for chalking, mildew, glossy finishes, or flaking layers. These conditions prevent proper bonding and must be corrected before moving forward. Hairline cracks may appear minor but can expand under new paint, causing visible defects. On exterior walls, moisture-related residues are especially common when painting outside house surfaces.
Simple adhesion tests—such as tape pull tests—can reveal whether more prep is required. Skipping this diagnostic stage weakens the entire surface preparation process. Addressing adhesion risks early ensures primers and topcoats perform as designed, delivering durability instead of premature failure.
Step 1: Clean the Surface — The Foundation of Surface Preparation
2.1 Removing Dust, Grease, Mold, and Residues
Cleaning is the foundation of successful surface preparation. Dust, grease, smoke residue, and mold all interfere with paint adhesion, even if they are not immediately visible.
Begin by removing loose debris, then use appropriate cleaners for the environment. Degreasers are essential in kitchens and workspaces, while mold requires targeted treatment rather than paint coverage. Rinse thoroughly and allow the surface to dry completely.
When using advanced painting tool systems such as sprayers, incomplete cleaning becomes even more obvious, as imperfections are magnified. Proper cleaning ensures primers bond evenly and topcoats cure correctly. Skipping or rushing this step compromises the entire surface preparation process, regardless of paint quality.
2.2 When Simple Cleaning Is Not Enough
Some surfaces require more than basic cleaning. Deep contamination, weathering, or unstable coatings demand advanced surface preparation methods.
Smoke residue, exterior pollution, or chalky surfaces often need pressure washing, chemical cleaners, or light abrasion. During outdoor painting preparation, these steps are essential but must be controlled to avoid damaging the substrate.
Stains that bleed through paint—such as rust or water marks—signal the need for stain-blocking primers after cleaning. In these cases, cleaning supports, but does not complete, the surface preparation process.
Knowing when to escalate beyond simple washing prevents adhesion issues and ensures the surface is truly ready for coating.
For a professional overview on essential surface cleaning and prep techniques used in painting workflows, refer to the National Association of Finishing Contractors’ surface preparation resource.

Step 2: Repair Before You Sand
3.1 Filling Cracks, Holes, and Damaged Areas
All repairs should be completed before sanding begins. Filling defects is a critical stage of surface preparation, as sanding alone cannot correct structural imperfections.
Use fillers suited to the surface: flexible compounds for wood, lightweight fillers for drywall, and cement-based products for masonry. Apply carefully, feather edges smoothly, and avoid overfilling. Poor repairs will telegraph through the final finish, especially in well-lit painting home spaces.
Allow each repair to cure fully before proceeding. Skipping this step weakens the surface preparation process and leads to visible flaws after painting.
3.2 Drying Time and Surface Readiness Tips
Drying time is an active part of surface preparation, not downtime. Fillers, cleaners, and repairs must fully cure—not just feel dry—before sanding or painting.
Humidity, temperature, and airflow all affect drying, especially on exterior projects. When painting outside house surfaces, overnight moisture or temperature drops can delay readiness. Use visual checks, hardness tests, and moisture assessments when needed.
Rushing this stage undermines even the best prep to paint efforts. Respecting cure times ensures the surface can support primer and paint without failure, completing the surface preparation process correctly.
Below is a professional surface preparation walkthrough showing caulking, patching, and sealing techniques that significantly improve paint adhesion and job longevity
Step 3: Sanding for Adhesion, Not Just Smoothness
4.1 How Much Sanding Is Enough?
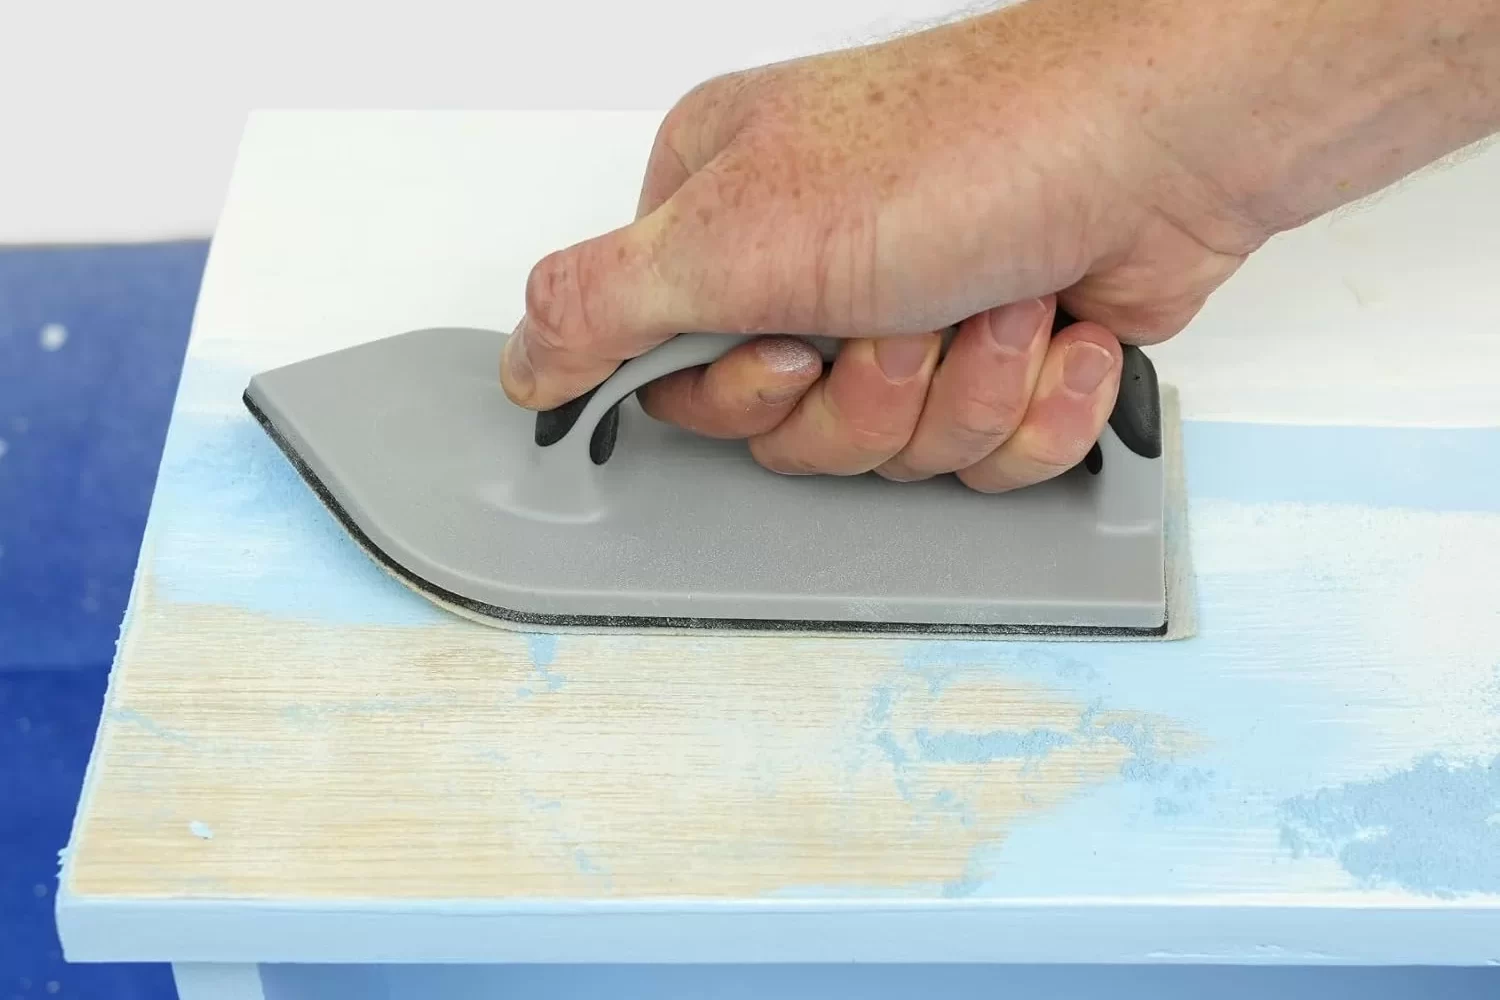
Sanding is often misunderstood as a cosmetic step, but its real purpose is adhesion. Proper surface preparation focuses on creating a mechanical bond between the surface and the coating—not achieving a polished look. Oversanding wastes time, while undersanding leads to peeling and premature failure.
The goal is to dull glossy areas, level minor imperfections, and open the surface just enough for primer or paint to grip. When sanding wall before painting, you should feel a uniform, slightly rough texture under your hand, with no shiny spots remaining. If the surface still reflects light unevenly, sanding is incomplete.
Stop sanding once edges are feathered and transitions feel smooth to the touch. Aggressive sanding that cuts into drywall paper or wood fibers creates new problems that must be repaired before moving forward. This slows down the entire surface preparation process and increases material use.
Professionals judge sanding by consistency, not appearance. When the surface feels even, matte, and stable, it’s ready for the next step—no more, no less.
4.2 Sandpaper Grit Selection for Different Surfaces
Choosing the right sandpaper grit is a technical decision, not a preference. Each surface requires a specific range to achieve effective surface preparation without damage. Incorrect grit choice can reduce adhesion or create unnecessary repair work.
Professionals typically follow this grit progression:
Coarse grits (60–80)
- Heavy paint removal or damaged wood
- Never used as the final sanding step
Medium grits (100–150)
- Leveling repairs and dulling glossy coatings
- Common for general prep work
Fine grits (180–220)
- Final sanding before primer
- Creates a smooth, paint-ready surface
Wood surfaces require extra control. Over-sanding can tear fibers, especially when preparing finishes involving wood paint kit systems. Always sand with the grain and finish with a finer grit.
The objective is controlled abrasion. Proper grit selection ensures the surface preparation process improves adhesion while preserving the material’s strength and appearance.
For a deeper breakdown of sanding paper types and their specific applications, you can refer to our complete guide on estilos y usos del papel de lija.
Step 4: Priming — When, Where, and How
5.1 When Surface Preparation Requires a Primer
Primer is not optional—it’s situational. Knowing when to prime is a defining part of professional surface preparation, not an upsell. Primer is required whenever the surface is porous, stained, repaired, or transitioning between coatings.
Bare drywall, exposed wood, patched areas, and surfaces with water stains all need primer to stabilize absorption and promote uniform color. Skipping primer in these cases leads to flashing, uneven sheen, and weak adhesion. This is especially critical in moisture-prone areas where issues like bathroom mold paint failures are common without proper sealing.
Primer also acts as a compatibility layer between old and new coatings. When repainting unknown or aged finishes, primer reduces chemical conflicts that compromise durability. Applied correctly, primer completes the structural phase of surface preparation and prepares the surface to accept finish paint under real-world conditions.
For a complete, step-by-step workflow covering surface prep and primer application, you can also refer to our surface prep and primer guide.
5.2 How to Prime New vs. Existing Coated Surfaces
New and previously painted surfaces behave differently, and effective surface preparation accounts for that difference. Proper primer selection ensures adhesion, smooth finish, and long-lasting performance.
Primer Selection and Application Guide for Surface Preparation
| Surface Type / Condition | Recommended Primer | Key Surface Preparation Step | Notas |
| Bare wood | Paint primer for wood | Sand lightly before priming | Seals wood fibers; prevents tannin bleed |
| Drywall | Interior primer | Ensure dust-free surface | Use light sanding if needed |
| Repaired patches | Matching primer | Feather edges | Ensures smooth finish and adhesion |
| Glossy existing paint | Bonding primer | Sand to dull finish | Critical for adhesion; prevents peeling |
| Mold or moisture-prone areas | Mold-resistant primer | Clean and treat surface first | Surface preparation must remove contaminants completely |
| Changing paint type (oil → latex) | Universal bonding primer | Follow manufacturer drying times | Avoids chemical incompatibility |
5.3 Common Priming Mistakes That Ruin Paint Jobs
Most priming failures stem from impatience or incorrect product selection. Applying primer too thick, skipping drying time, or using the wrong formula undermines even careful surface preparation.
One frequent mistake is using combined products in the wrong situation. While interior paint and primer products are convenient, they do not replace true primer on raw or damaged surfaces. Another error is painting over primer before it fully cures, trapping solvents and causing adhesion loss.
Uneven coverage is equally damaging. Missed spots absorb finish paint differently, leading to blotchy results. Primer should be applied consistently and inspected before topcoating.
Priming is not about speed—it’s about control. Respecting this step protects the entire surface preparation process and ensures the finish coat performs as designed.
Step 5: Protect, Inspect, and Paint with Confidence
6.1 How to Protect Surrounding Surfaces While Painting
Protection is a functional step, not an afterthought. Proper masking and coverage complete professional surface preparation by preserving clean edges and preventing damage.
Use drop cloths for floors, plastic sheeting for large areas, and painter’s tape for trim and fixtures. Press tape edges firmly to prevent bleed-through, but remove it before paint fully cures to avoid tearing.
Protection is especially important when working with rollers or sprayers near finished surfaces or woodwork treated with wood paint and primer systems. Overspray and splatter can permanently damage adjacent areas if left unprotected.
Careful protection reduces cleanup time and maintains the integrity of the surrounding environment. It’s the final safeguard that ensures the surface preparation work delivers a clean, professional result.
6.2 Pre-Paint Checklist for Professional Results
Before opening a paint can, run a final inspection. This checklist confirms that surface preparation is complete and no steps were skipped.
Verify the surface is clean, dry, sanded, repaired, and properly primed. Check for dust, missed patches, or uneven primer coverage. Confirm environmental conditions—temperature and humidity—are within recommended ranges.
Ensure tools are ready and appropriate for the coating system, especially when transitioning between materials or finishes. A disciplined checklist prevents errors that compromise durability and appearance.
Professionals rely on this final review to protect their results. Completing this step ensures the surface preparation process supports a smooth application, strong adhesion, and a paint job built to last.
Conclusión
Thorough surface preparation ensures paint adheres properly, lasts longer, and looks professional by removing contaminants, smoothing surfaces, and enabling primers to work effectively. Investing in prep reduces repainting costs and improves job outcomes. Contact Rollingdog Tools for expert solutions and tailored recommendations!
Frequently Asked Questions (FAQ)
Q1: What exactly is surface preparation and why does it matter?
Surface preparation refers to the cleaning, repairing, sanding, and priming steps taken before applying paint. Without proper prep, paint can peel, bubble, or fail prematurely because it cannot bond well to the substrate.
Q2: How long should I wait between primer and topcoat?
Always follow the primer manufacturer’s recommended drying time. Skipping sufficient cure time compromises adhesion and can lead to finish defects. For many primers, full drying takes 2–4 hours, but conditions like humidity and temperature can extend this.
Q3: Is primer always necessary before painting?
Primer is essential when working with bare surfaces, repaired patches, or porous materials. It seals and evens surface absorbency and ensures that the finish paint adheres and wears evenly.
Q4: Can you skip sanding if the wall looks smooth?
No — sanding is about creating the right texture for mechanical adhesion. Even smooth surfaces often have gloss or microscopic contamination that must be dulled before primer can stick effectively.
Q5: What’s the biggest mistake people make in surface preparation?
The most common error is rushing or skipping steps — especially cleaning and sanding — which leads to adhesion failure and future repainting. Thorough prep reduces material waste and long‑term labor.
Q6: My surface has mold — can I just paint over it?
No. Painting over mold does not eliminate the issue. Mold must be treated and removed properly before priming and repainting to ensure a safe, durable finish.
Zoe Cen es especialista en marketing de ROLLINGDOG, líder mundial en herramientas profesionales de pintura. Trabaja para conectar la marca con distribuidores y minoristas internacionales, destacando la innovación de ROLLINGDOG en brochas, rodillos y accesorios. Centrada en el marketing B2B global, Zoe ayuda a los socios a acceder a soluciones de pintura fiables y de alta calidad para profesionales y usuarios de bricolaje.