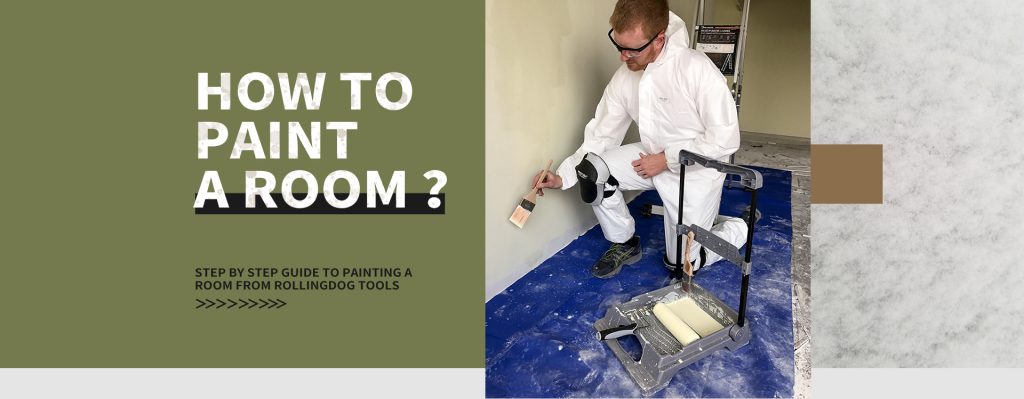
Painting a room can feel overwhelming, but with the right tools, preparation, and a few expert tricks, anyone can achieve a smooth, professional finish. This guide will walk you through each step—from preparation to cleanup—so your project is stress-free and successful.
STEP 1: Selecting Your Tools
Having the correct tools makes painting easier and ensures long-lasting results.
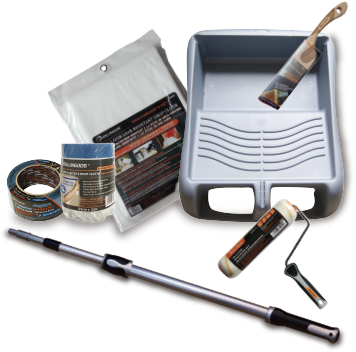
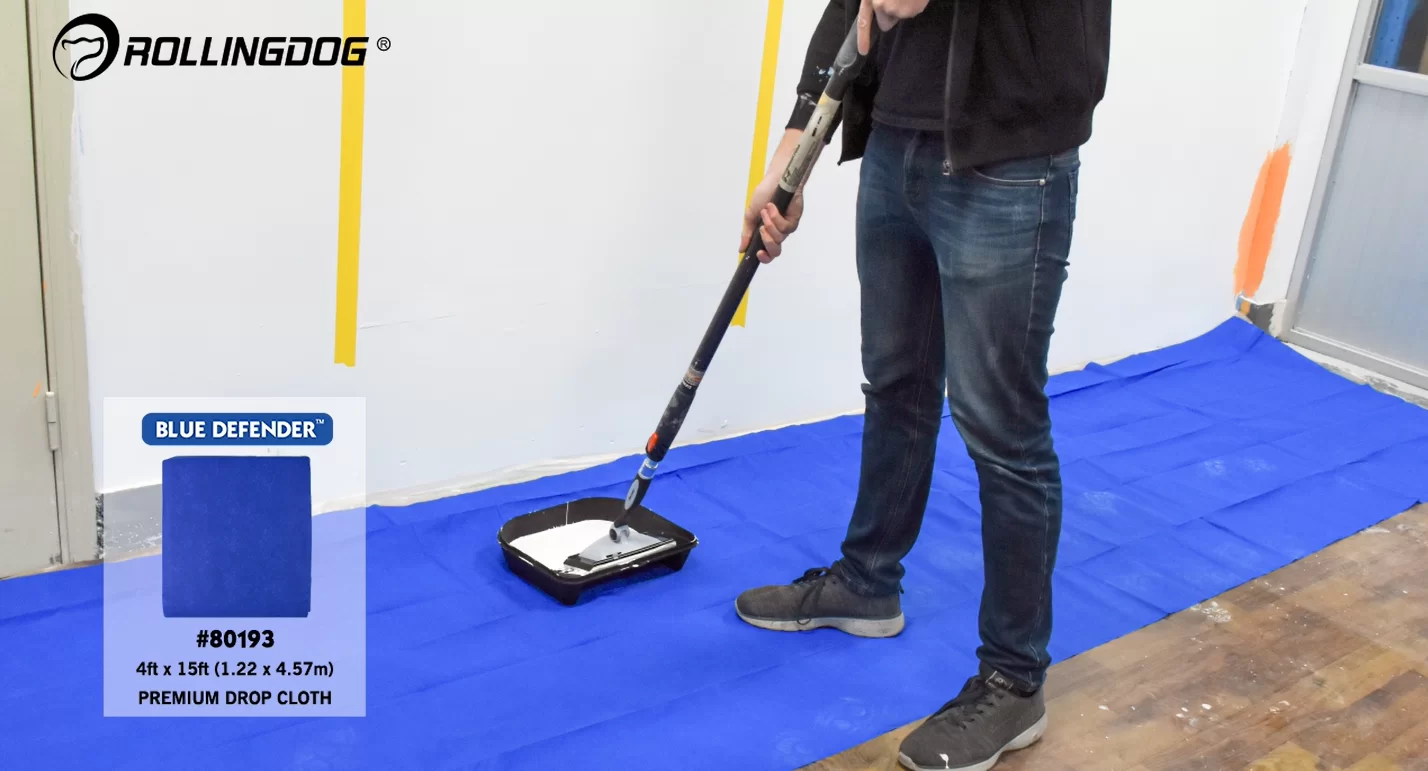
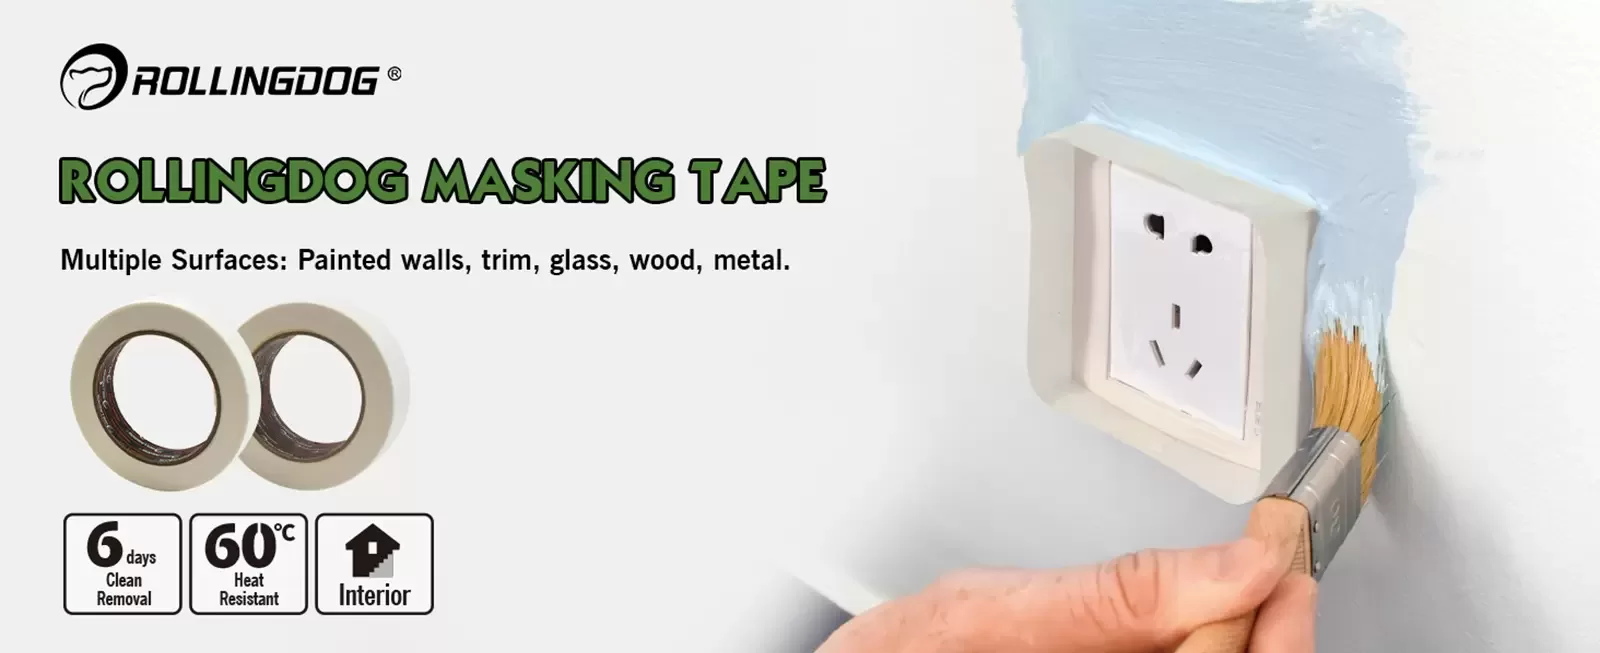
- Surface protection: Drop cloths and tape are essential. Use masking tape, blue painter’s tape, or Washi tape to cover trim and edges. Pre-taped drop sheets like ROLLINGDOG #81463 et #81464 are excellent for protecting floors, furniture, and stairs. Reusable options like ROLLINGDOG Blue Defender™ and Canvas-Guard™ provide the best protection.
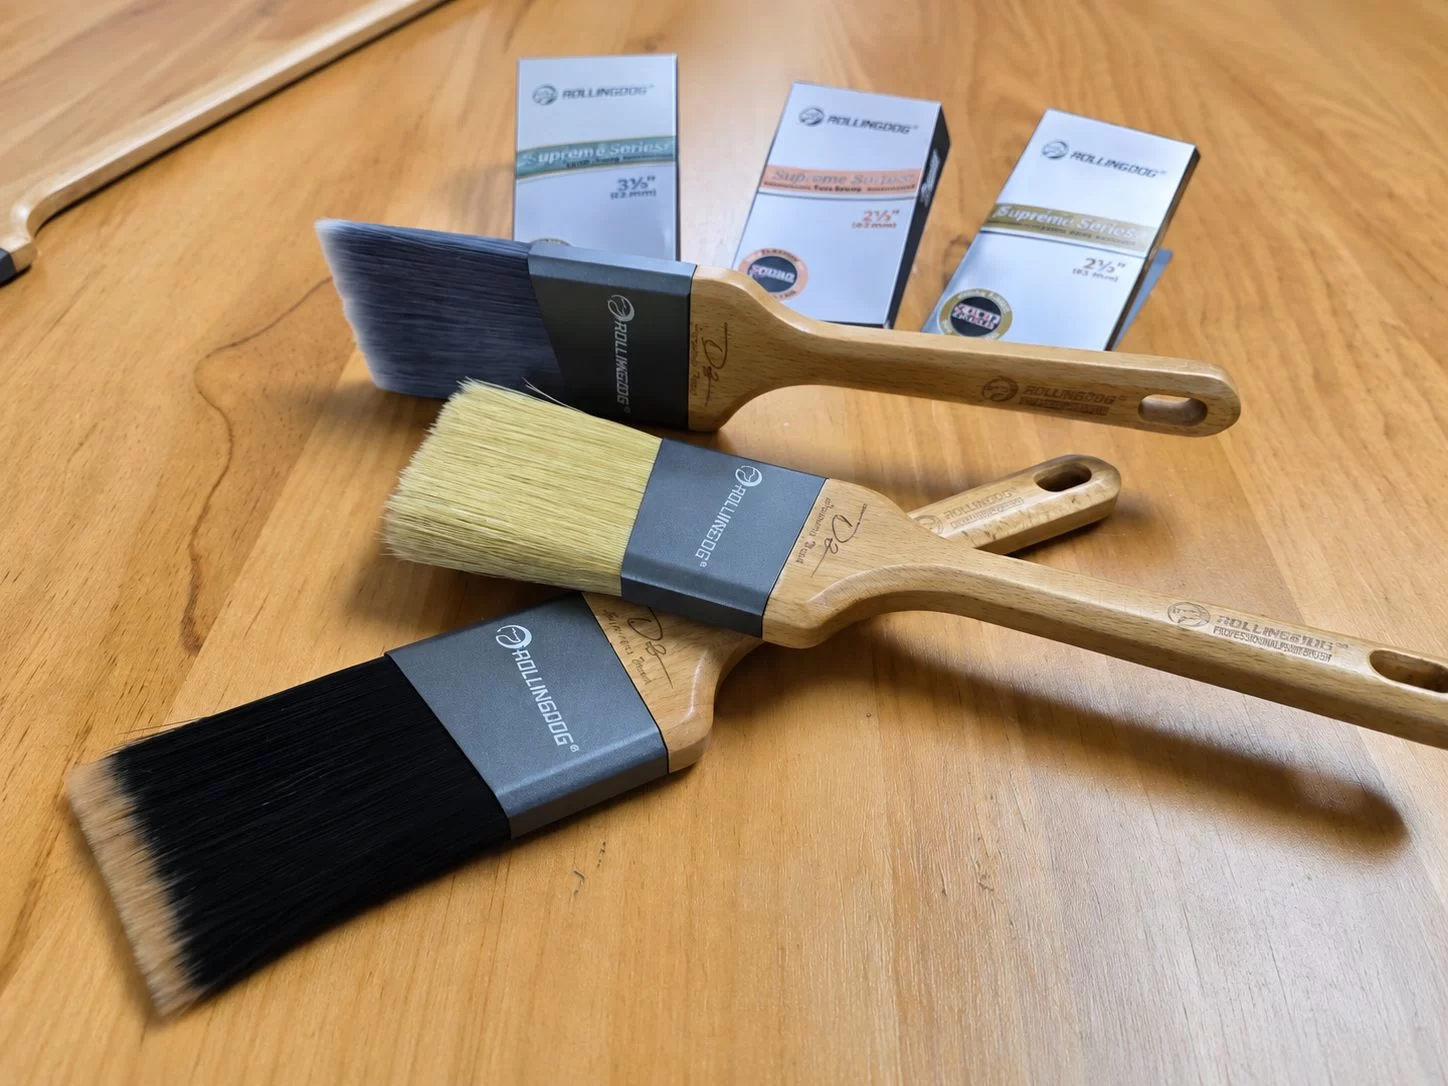
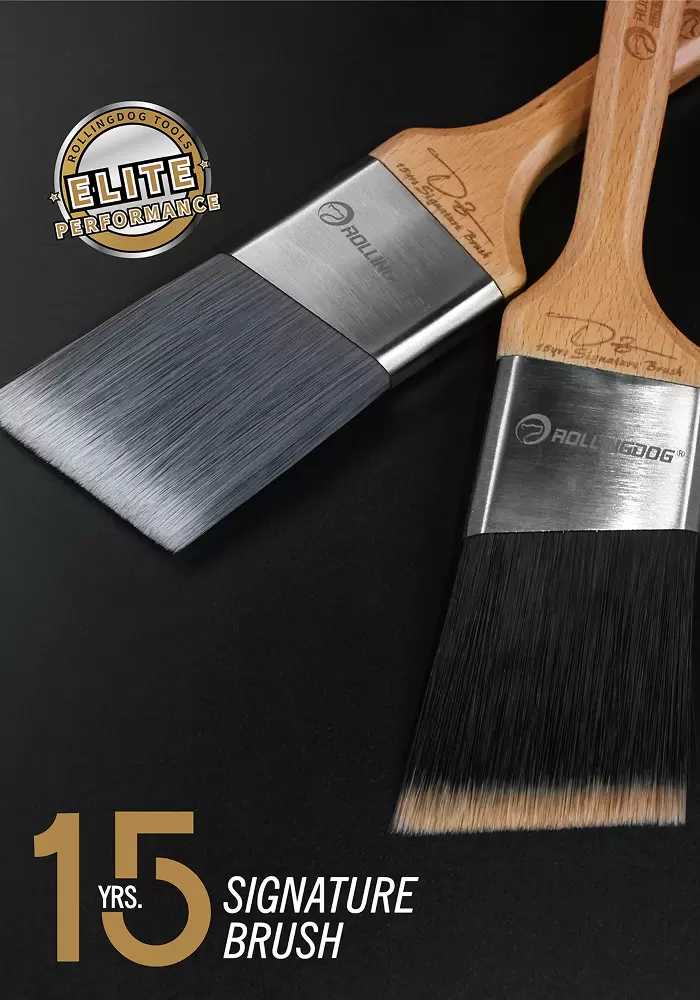
- Paint brushes: A 2 ½” (63mm) angled sash brush, such as ROLLINGDOG #10272 or #10178, is perfect for “cutting in” around trim and corners.
Tip: Natural bristles work best with oil-based paints, while synthetic brushes are better for water-based paints.
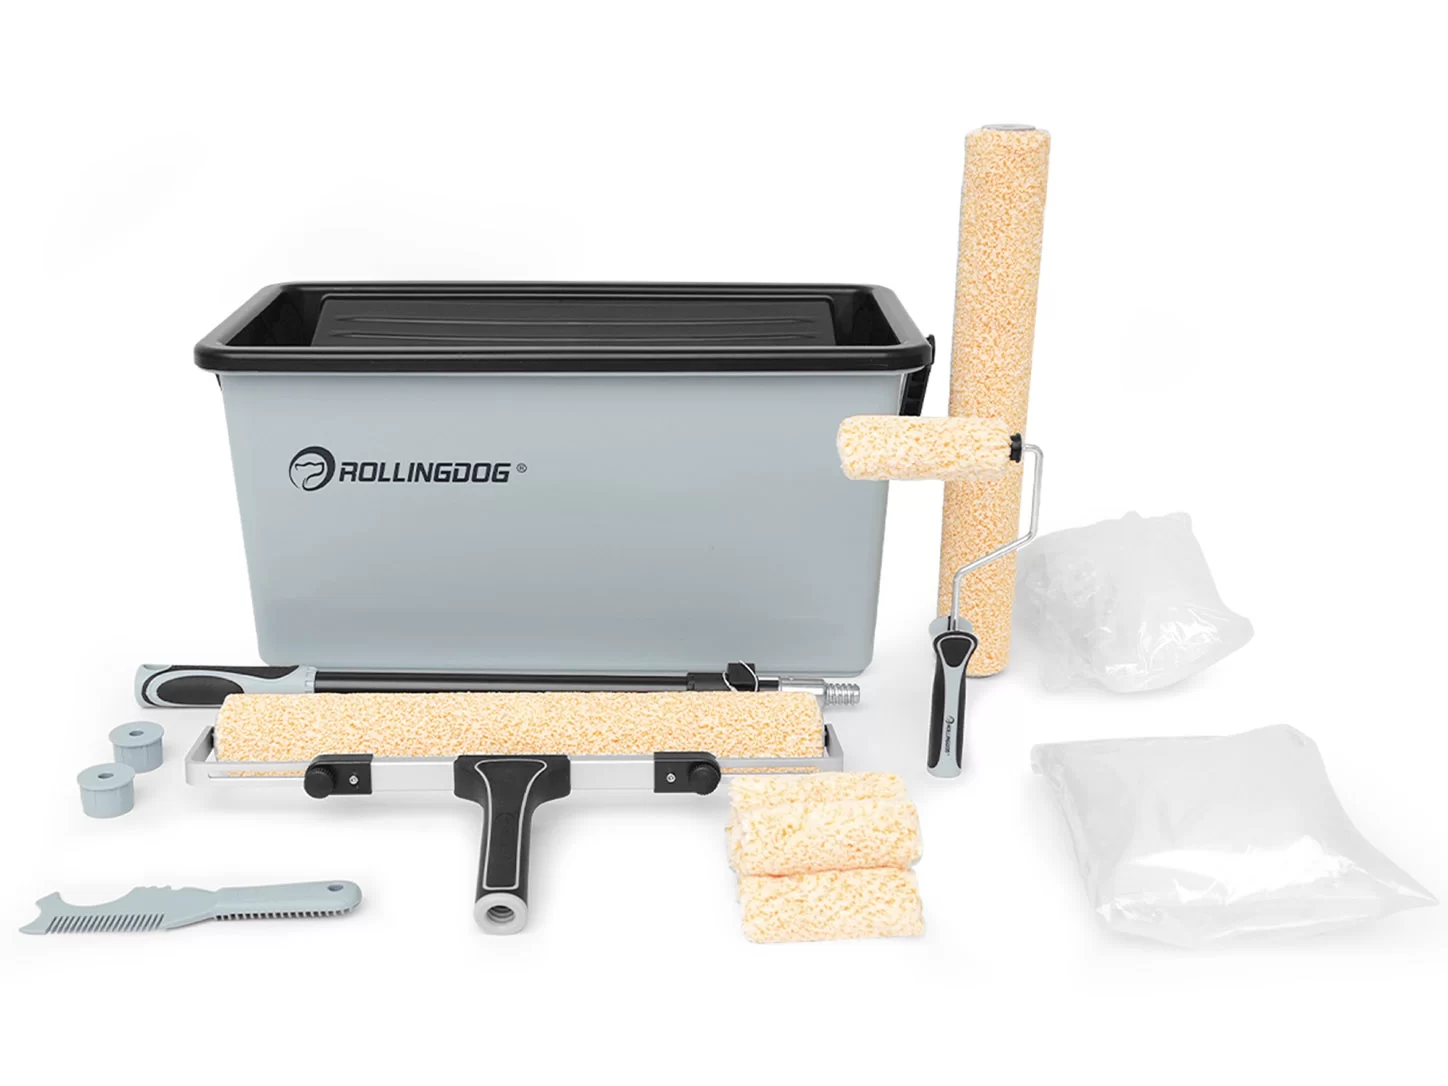
- Paint trays and cups: Use a sturdy paint tray or bucket with a loading grid for rollers. A paint cup is handy for detailed brushwork and cutting in.
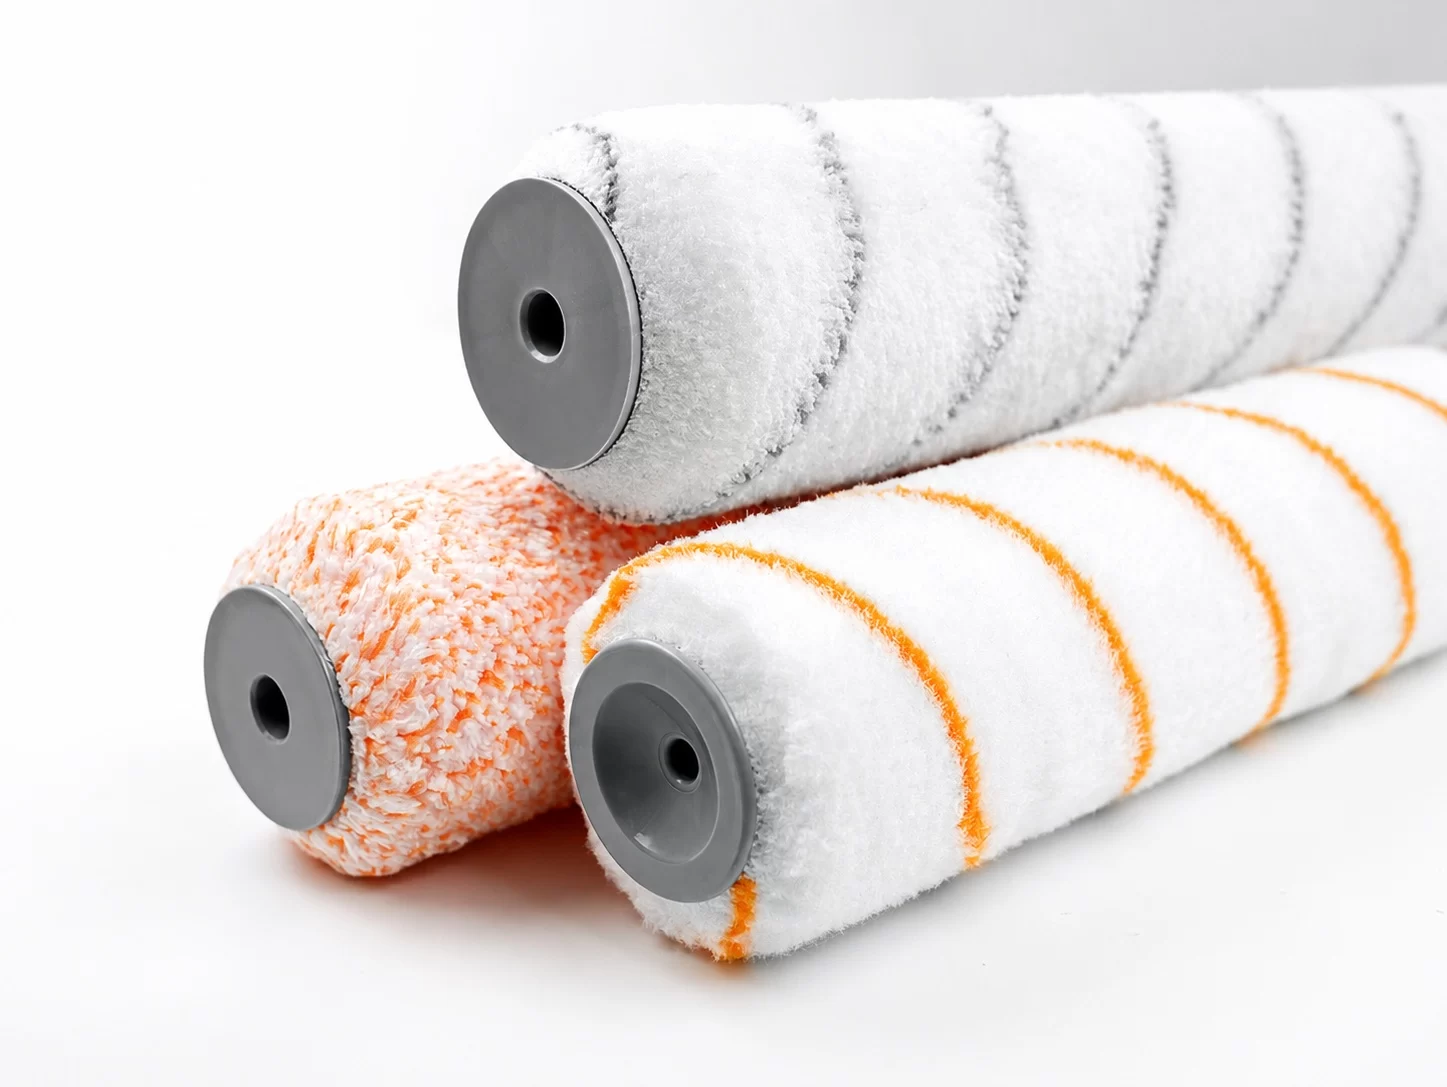
- Paint rollers: A 9” roller cover is standard for walls.
- Synthetic covers like ROLLINGDOG Smooth-Pro™ or Super-Micro™ are best for latex/water-based paint.
- Natural fiber covers like ROLLINGDOG Wooly-Pro™ work better for oil-based paint.
- Nap length matters: shorter naps give a shinier finish (smooth walls), while longer naps are for rougher surfaces. For most interior walls, a 3/8” (10mm) nap is ideal.
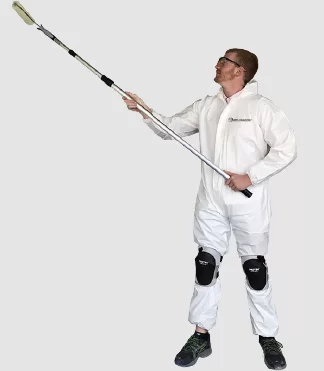
- Roller frames & extension poles: Choose a durable roller frame and check the local roller style (cage frame or single rod). An extension pole, even in standard rooms, will save time and effort.
STEP 2: Room Preparation and Cutting In
Proper preparation ensures a smoother paint job and saves you time later. Follow these steps:
1. Clear and Protect the Room
Move all furniture out of the room if possible.
If not, move it to the center and cover with a drop cloth.
For small rooms, cover the entire floor with a drop cloth.
In larger rooms, cover at least 3 feet out from the wall being painted to protect against splatter.
2. Remove Hardware and Clean Walls
Take off hardware such as door hinges, outlet covers, light switch plates, and smoke detectors.
Tape around all edges and trim for sharper paint lines.
Make sure walls are clean and free of dust, spider webs, or grease before painting.
3. Don’t Skip Priming
Apply primer if you are:
Painting over non-paint surfaces (drywall, bare wood, metal, spackle, or putty).
Covering stains from ink, crayons, or mold.
Switching from oil-based paint to water-based paint, even if the surface is already painted.
4. Cutting In the Edges
Use a 2.5” brush (like ROLLINGDOG #10241) to paint along ceilings, corners, trim, and around outlets/switches.
Mini rollers are also a popular option for cutting in tight areas.
5. Mix and Pour Your Paint
Stir paint or primer thoroughly with a stir bar.
Pour it into a small tray or cup for easy access.
ROLLINGDOG paint cups (#20146) are ergonomically designed for both brushes and mini rollers, making cutting in faster and easier.
A disposable plastic cup can also work in a pinch.
STEP 3: Painting with a Roller
Painting with a roller: put your roller cover on the cage. Stir your paint thoroughly, and pour about ½ inch into the tray’s well. Dampen the roller cover before painting — this ensures faster application and saves paint.
- For latex paint, dampen the roller with water from a spray bottle or faucet.
- For oil-based paint, roll the alkyd-appropriate cover in a tray of paint thinner.
Scrape off excess moisture with your 5-in-1 tool. Roll the roller down into the paint tray and along the slope of the tray’s rake to load paint evenly. Proper loading reduces spatter, prevents drips, and improves coverage.

ROLLER PAINTING TECHNIQUE:
Hold the roller with your dominant hand. Stand with feet shoulder-width apart and the roller directly in front of you. If using an extension pole, place your dominant hand at the bottom for control and the non-dominant hand in the middle for leverage.
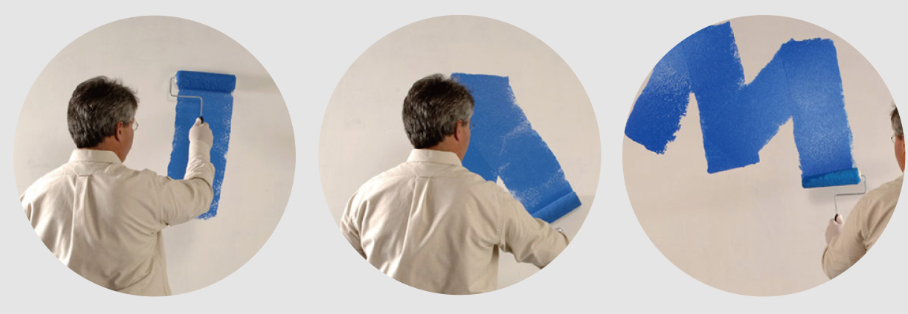
- Start with a long, slow diagonal upward stroke to begin the first part of the “M” pattern.
- Follow with a long, slow diagonal downward stroke.
- Continue with another upward and downward diagonal to complete the “M.”
- Cross the “M” with horizontal strokes from bottom to top.
- Smooth out the section with a series of top-to-bottom strokes.
Repeat the process to complete the wall. Work in small sections, moving from dry areas to wet ones, and always overlap the wet edge for even coverage.
See It in Action
Reading about roller painting is one thing, but watching it in practice makes it much clearer. Here’s a step-by-step video guide on how to paint a room like a pro:
Step 4: Clean Up
- Remove tape from walls.
- Reinstall hardware.
- Clean pinceaux/rollers/trays immediately after job completion to ensure long life of tools.You can also follow this guide on cleaning painting tools for best results.
- When you are sure paint is completely dry remove drop cloths and drop sheets and replace furniture.
Réflexions finales
Painting a room is easier than you think when you use the right painting tools and follow the correct steps. With a paint roller for large areas and a paint brush for detail work, you can achieve a smooth, professional-looking finish. Rollingdog provides professional painting tools designed to make every DIY or professional project faster, cleaner, and more efficient.
Frequently Asked Questions (FAQ)
1.How do I choose the right paint roller?
The roller depends on your wall texture. Use a short nap (¼”–⅜”) for smooth walls and a thicker nap (½”–¾”) for textured surfaces like plaster or brick.
For a detailed guide, check out our article on Choosing the Right Paint Roller.
2. Do I need to prime my walls before painting?
Yes, in most cases. Primer improves paint adhesion, hides stains, and helps achieve a more even finish. It’s especially important when painting over dark colors or new drywall.
3. How can I avoid roller marks on my walls?
- Always keep a “wet edge” by overlapping strokes before the paint dries.
- Use steady, light pressure instead of pushing too hard.
- Reload your roller often so it’s evenly coated.
4. What’s the best way to paint corners and edges?
Use an angled brush to cut in around corners, ceilings, and baseboards. Then, immediately blend with a roller to avoid visible brush lines.
5. How long should I wait between coats of paint?
Most paints need 2–4 hours of drying time before applying a second coat. Always check the manufacturer’s instructions on the paint can.
6. How do I clean my brushes and rollers after painting?
- Water-based paint: wash with warm, soapy water.
- Oil-based paint: clean with mineral spirits or paint thinner.
- Dry tools completely before storing to extend their lifespan.
7. How soon can I move furniture back into the room?
Wait until the paint is completely dry. Light surface drying takes a few hours, but full curing can take up to two weeks. For safety, move furniture carefully after 24–48 hours.